Ledger.com/Start
Your Gateway to Secure Crypto Storage
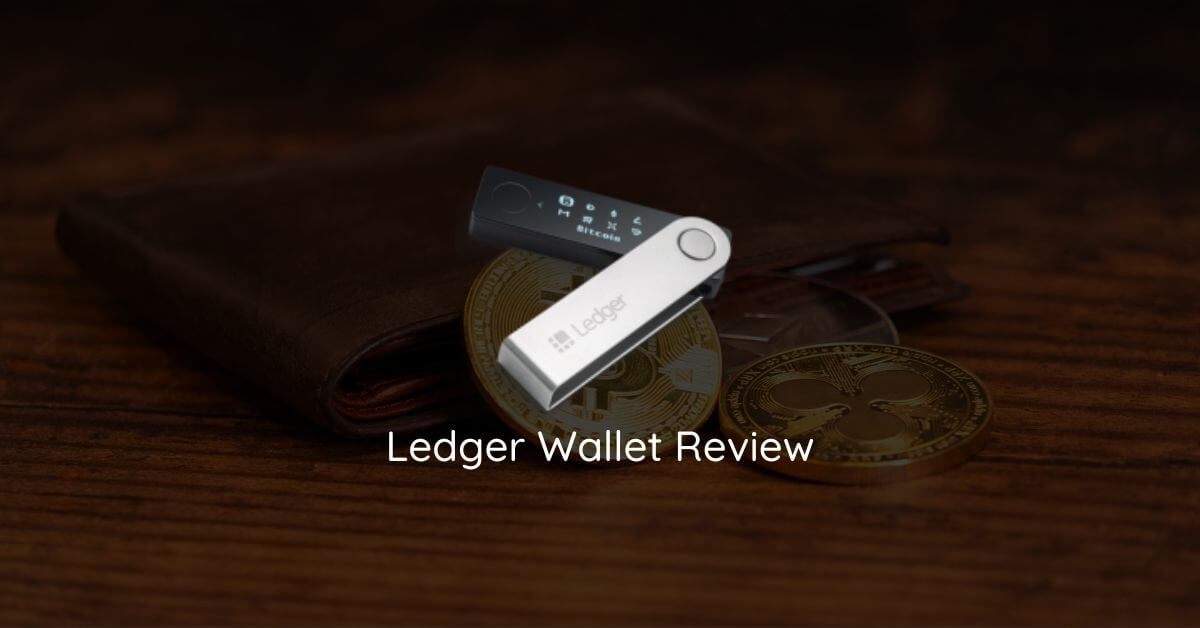
Welcome to the future of financial freedom. Secure, manage, and grow your crypto assets with the world's most trusted hardware wallet. This guide will walk you through every step of the setup process.
Welcome to the Ledger Family
You've taken the first step towards true financial sovereignty.
In the world of cryptocurrency, security is paramount. Unlike "hot wallets" (software wallets connected to the internet), Ledger hardware wallets keep your private keys offline in a secure element chip. This means your assets are safe from online hacks, phishing attempts, and malware.
By choosing Ledger, you are opting for:
- Uncompromising Security: Military-grade encryption protects your private data.
- True Ownership: "Not your keys, not your coins." With Ledger, you own your keys.
- Multi-Currency Support: Manage over 5,500 digital assets in one place.
Getting Started Guide
Follow these 6 simple steps to set up your device and secure your assets.
1. Unbox Your Device
Open your Ledger box. You should find the device, a USB cable, recovery sheets, and a keychain. Important: Check that the box was sealed and there are no signs of tampering. If the recovery sheets are already filled out, DO NOT use the device. Contact support immediately.
2. Download Ledger Live
Ledger Live is the companion app for your device. It allows you to manage your accounts and transactions. Download it only from the official website: ledger.com/ledger-live. Never download it from third-party sites or app stores that look suspicious.
3. Initialize Device
Connect your Ledger to your computer or phone using the USB cable. Follow the on-screen instructions on the device. You will be asked to set up a PIN code. Choose a PIN between 4 to 8 digits. This PIN is required to unlock your device.
4. Secure Recovery Phrase
Your device will generate a 24-word recovery phrase. Write these words down on the provided recovery sheets in the exact order. This is the only backup of your funds. If you lose your device, this phrase restores your access. Never store it digitally (photo, email, cloud).
5. Install Apps
Open Ledger Live and navigate to the "My Ledger" tab. Allow the manager on your device. From here, you can install apps for the cryptocurrencies you wish to manage, such as the Bitcoin app, Ethereum app, etc. The apps act as bridges between your device and the blockchain.
6. Start Managing Crypto
Once apps are installed, add accounts in Ledger Live. You can now receive funds by generating a receiving address (always verify it on your device screen!) or send funds securely. Your journey to financial independence has begun.
Critical Security Rules
Your security is only as strong as your habits. Memorize these rules.
Never Share Your Recovery Phrase
Ledger Support will NEVER ask for your 24 words. Anyone asking for them is a scammer trying to steal your funds.
Keep It Offline
Never take a photo of your recovery sheet. Never type your 24 words into a computer, phone, or website.
Trust Your Device Screen
Computer screens can be hacked. Always verify transaction details (address, amount) on your Ledger device's physical screen before confirming.
Beware of Phishing
Be cautious of emails or messages claiming your device is compromised. Always check the sender and official Ledger channels.
Unlock the Full Potential
Your Ledger device does more than just hold Bitcoin.
DeFi & Staking
Grow your assets directly from Ledger Live. Stake Tezos, Polkadot, Solana, and more to earn rewards securely.
NFT Management
Visualize, send, and receive your Ethereum and Polygon NFTs with full security and ownership.
Buy & Swap
Buy crypto with fiat or swap one coin for another through our integrated partners without leaving the app.
Mobile Connectivity
Connect your Ledger Nano X via Bluetooth to your smartphone for security on the go.
Ready to Secure Your Future?
Join millions of users who trust Ledger with their digital assets.
Need help? Visit our Help Center for detailed tutorials.